
Battery cable assembly, Batteries are essential for powering automobiles as they start all vehicles, including heavy equipment, generators, or fuel-powered vehicles.
And one crucial component that makes a battery reliable and functional is the cable.
In this article, we will discuss the battery cable assembly so that you can pick the perfect one for your application.
What Are Battery Cables?
You can find the battery cables at the front and center of your vehicle’s electrical system, including the charging, starting, or ignition systems.
Battery cables comprise two heavy gauge wires; one is positive, and the other is negative.
The positive cable, encased in red, connects the battery to the computer, while the negative/ground cable is in a black casing and connects the battery to the car’s chassis.
As a result, these cables create a loop so that power flows continuously to all vehicle parts when you put the switch on.
You may have to consider the strength and durability of the cable in some direct connections with sharp turns.
Battery cables found in cars, buses, trucks, tractors, or boats are rated at 60V DC with different gauges.
It depends on the application specifications; you can choose the cable accordingly.
Battery cable connection
Things to consider when designing battery cable Assemblies
Battery cables comprise copper wires of heavy gauges and are made on factory equipment like battery lugs.
Cable Gauge:
If you choose a very thick gauge wire, it fails to distribute current properly, while a very thin gauge wire results in short-circuit and may also lead to a fire in the engine compartment.
So, it is always better to have amp and gauge charts to select the cables correctly for any specified application.
| AWG | APPLICATION |
| 10 | Best suited for low-power alternators, trigger wires of starters, and accessory leads. |
| 8 | Also suitable for accessory leads and fewer power alternators. |
| 6 | Best suited for accessory leads, stock alternators, small engines, and golf cart wiring. |
| 4 | Great for alternate wires, automotive booster cables, and accessory leads, used as battery cables in some cars. Electric ATVs may also use for battery banks. |
| 2 | It is best for 4 or 6-cylinder automobile engines, high-power accessories, and alternators above 160V; it also performs exceptionally well with golf-cart battery banks suitable for heavy-duty booster cable/jumper cable. |
| 1 | Recommended for 6-cylinder or small V-8 auto engines, high power accessories, and high output alternators (200 A range) |
| 1/0 | Good for high-performing 6-cylinder engines and V8 engines. |
| 2/0 | Suitable for hard-to-crank engines such as diesel engines, big blocks or high compression, EV battery banks, or big RV converter batteries. |
| 3/0 | Suitable for diesel engines or marine engines and alternative high-power battery banks. |
| 4/0 | Similar application as of 3/0 Gauge wires. |
Conductor Stranding
When you use cables in automobile applications, you need not consider flexibility too much as cables remain primarily in a fixed position connecting the battery to the alternator.
Thus, you can take cables with a low strand count.
However, there are some other applications where you need to pick flexible cables as the application involves their frequent movement or bending.
For better flexibility, you must take cables with a higher strand count.
Further, cables with higher strands show better conductivity as the current gets more wire surface area to flow, which is essential for a few applications.
Conductor material
You know that cables are made of copper, and the stranded wire you buy is 99.90% pure copper.
On the other hand, some stereo shops make a fool of you by selling Oxygen-free copper, which is 99.95% pure copper.
Getting 0.5% more pure copper is a good idea, but this small amount is double the price.
The Oxygen Free Copper or OFC wire is twice as expensive as stranded copper wire.
However, you will notice no measurable difference in these two wires’ electric properties, so why invest in OFC wire?
Similarly, people pick copper-clad aluminum wires, similar to copper-plated aluminum wires.
The conductivity of aluminum is 60% that of copper; thus, a CCA wire will need two sizes larger gauge to get similar conductivity as that of copper-plated wire.
Insulation
You know that battery cable assemblies under the automobile engine hood undergo a lot of heat, oil, and chemical stress.
Thus, you must pick SAE-type and SGX-type battery cables for your vehicles and other automobiles.
An SGT cable has PVC insulation and can withstand a temperature range of 105 degrees Celsius.
In contrast, an SGX cable has cross-linked insulation showing abrasion resistance and high-temperature resistance up to 125 degrees Celsius.
Depending upon the applications, you may need NEC, solar or UL-rated wires based on their exposure to heat, sunlight, or moisture.
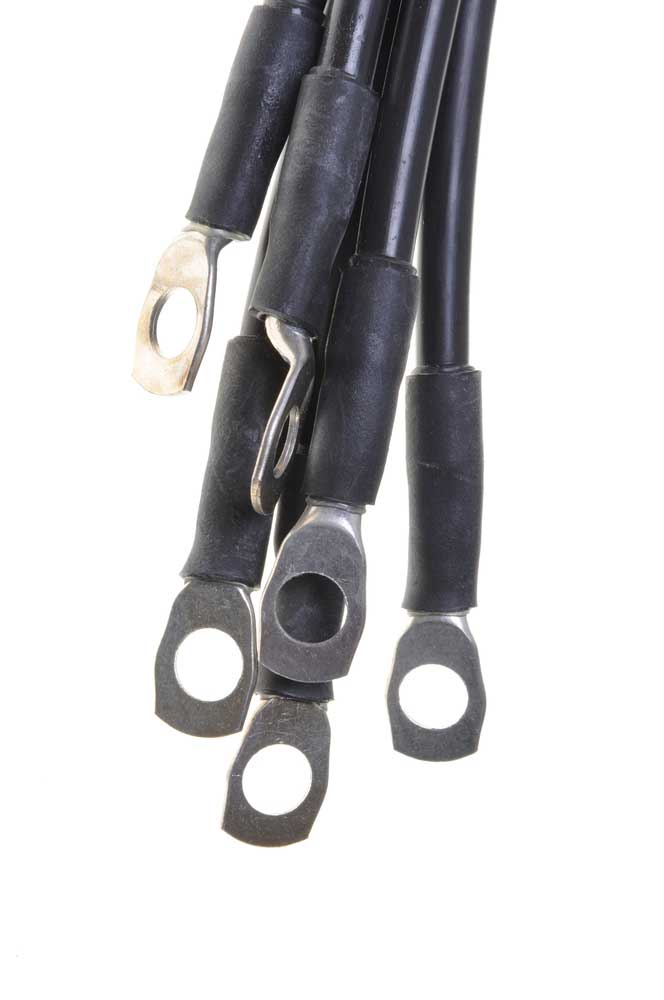
Connectors
You may need different connector types for making battery connections, and the most standard one is the battery terminal which goes over the ring lug terminal and lead post.
You can find these connectors either in straight or right-angle configurations.
These connectors are made from copper and have plated or bare copper variations.
Cable Length:
While choosing cable length, you must consider the voltage drop along the length of the automobile wire.
Based on ohm’s law, voltage drop = Current (in amps) * Resistance (in ohms).
As the length of the wire increases, the electrical resistance also increases, leading to a drop in the voltage.
Also, it would be best to consider that thinner wires show a high voltage drop than smaller, thicker wires, as wire resistance also depends on the cross-sectional area.
Suppose there is a 12-volt DC system, and the load current is ten amps.
The distance of the cable is 20 feet, and accordingly, the voltage drop will be 1.0%, i.e., 11.8 volts at the end of the cable if you use a 4-gauge cable.
You can correctly determine the voltage drop with the help of wire size calculators or AWG charts.
Termine the voltage drop with the help of wire size calculators or AWG charts.
Man-holding battery cables
How to assemble a battery cable?
To assemble a battery cable, you need to ensure that you have proper components and tools such as black cable (for negative), red cable (for positive), lugs, wire insulation stripper, paint marker, heat shrink tubing, measuring tape, hand crimper, etc.
- You must first cut your cable to the appropriate size. While cutting, you should mark the cable from its end to a length where cable lugs end on both sides.
- Then, you need to strip the cable insulation up to the marks described above using an insulation stripper. Once your battery cable is stripped, fit the lugs properly, so the wire bunch is inside.
- Now, lugs are needed to be crimped using a hand crimper. Better to crimp a lug at two places for a better fit.
- Run a heat-shrinking sleeve over the cable and lug joint area, and use a heat gun to shrink-fit it. Keep rotating the cable while heat is thrown upon the sleeve so it does not burn from one place. The sleeve will snugly fit around the lug body and cable joint area.
Ring-to-ring battery cables
Custom battery cable assembly solutions at Cloom:
At Cloom, you can find the following for battery cables.
Marine battery cable
The marine cables must have a marine rating, a legal and essential requirement for the coast guard, and be suitable for wet and high-temperature applications.
Fuse/Fusible link
A fuse link is a piece of wire like a slow-acting fuse.
The specialty of a fuse link wire is that it does not get burned even at high temperatures; instead, it fuses open if it becomes very hot.
Fuse link wires are primarily used in alternator wires and help in protecting electrical systems from alternator node failures.
Besides this, fuse link is also used in glow plug heater relays of diesel engines.
Tapered post
Our tapered post battery cables have lead, stamped brass, or forged bronze terminals.
There are RoHS-compliant brass stamped terminals(tin-plated) for wire gauges from 6-2.
You can also get lead castings with/without an internal steel ring. We also have lead cast wire head wires for wire sizes from 8-4/0 gauges.
Also, there are multiple configurations, like 90 degrees flags, side leads, etc., for multiple wires.
You may also find heat-shrink or other covering options suiting varied applications.
Ring to Ring
These are available in brass and copper with different plating options. Wires ranging from 8-2 gauge have open barrel terminals, while wires from 8-4/0 gauge has closed barrel lug terminals.
We provide Pico-style crimps to power connectors on both ends.
We perform pull tests on cables and provide tin dip options to make the cables resistant to corrosion and enhance pull strength.
You can also get different connector over-molding choices.
Ground/flat strap
You can find flat/round wire choices for ground strapping. The cables have braided copper strands without insulation to route flexibly.
Battery cable terminal options include stamped thimble, open barrel, and lead cast.
Booster
Booster battery cable assemblies are co-extruded cables available in two, four, six, and eight-wire gauges.
We have used printed or molded stripes to differentiate among conductors.
This cable assembly is best for tiny space applications that transmit battery power via a vehicle. For slitting circuits and designing parts, we use special cutting equipment.
Battery Cable Repair Splices
Sometimes cable harness is damaged accidentally or wears over time, and you must replace the damaged parts.
You can use battery cable repair splices for easy and quick replacement. Further, replacing the whole battery harness assembly is not feasible as it will be expensive.

Booster battery cable
Do battery cables go bad?
Battery cables wear down as copper corrodes over time. As a result, the battery’s capability to deliver maximum power reduces with the rising resistance, ultimately affecting the starting system.
All vehicle batteries need acid to perform correctly, but it also leads to corrosion. How?
Acid fumes come out from the battery housing and the post, and when these fumes mix with heat, chemicals, or dirt, it accelerates the corrosion of the copper.
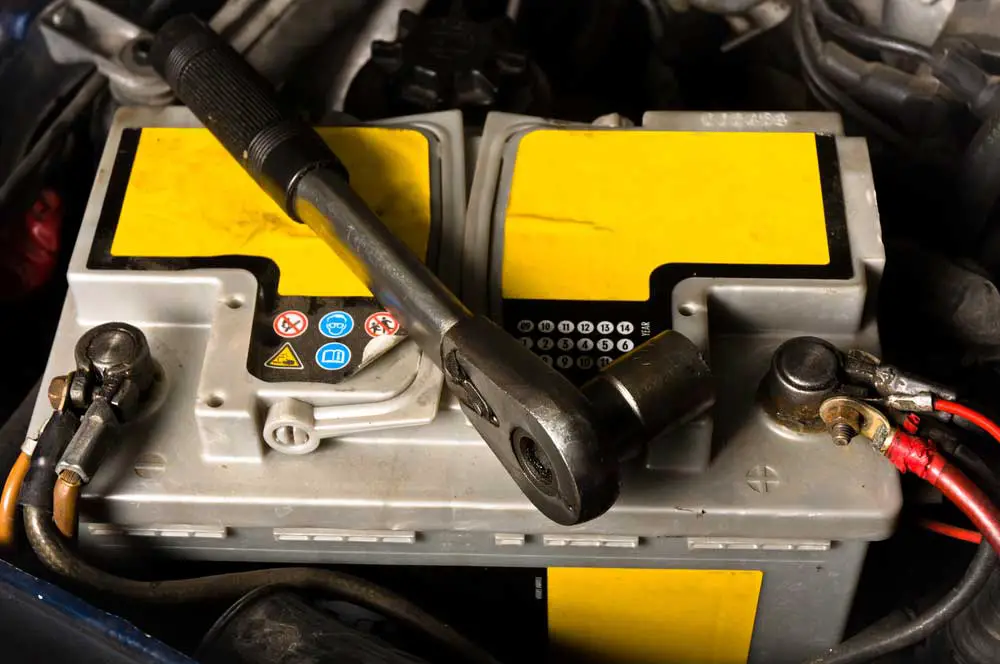
If you notice corrosion on the upper surface or underneath the jacket, clean any corrosion on the battery post with a cleaning brush to ensure proper contact between the battery post and the cable terminal.
In addition, burns, holes, brittleness, or cracks in the battery cables may affect the conduction efficiency.
Symptoms of bad battery cable
Symptoms of a bad and dead battery cable are the same.
They include the dim interior lighting, engine failing to start, clicking noise while starting but not starting, loss of electricity, engine stalls when the car does not move, or slow engine cranking.
Car Battery cables
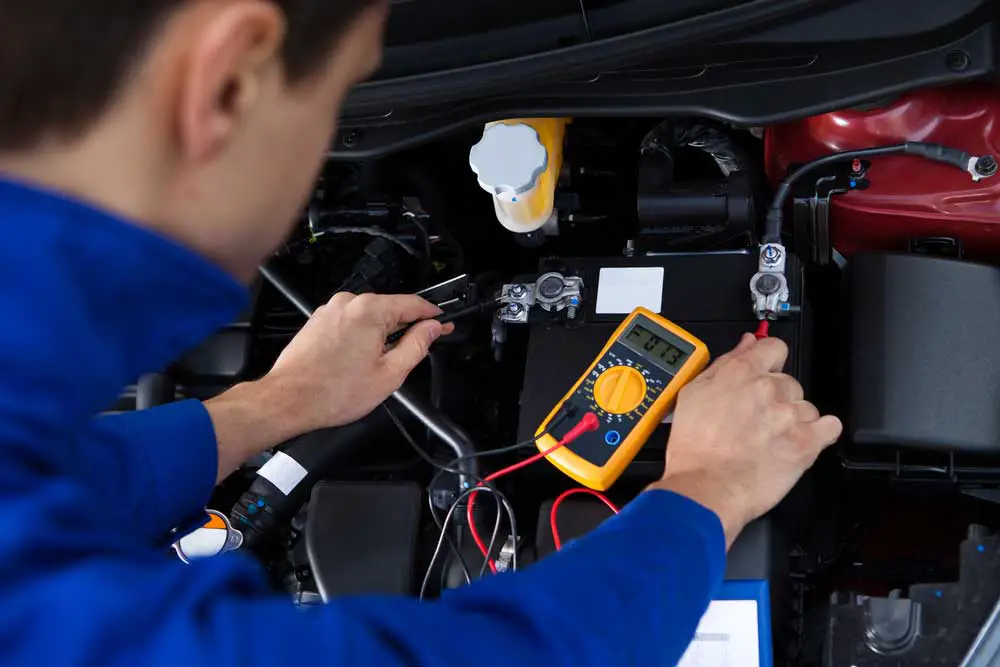
How to test your battery cables?
You can test your vehicle’s battery with the help of a multimeter. Grab a multimeter and set it to measure voltage. Follow these steps:
- Connect one end of the positive or red cable to the multimeter and the other to the positive battery terminal.
- Now, let one other person start the car’s engine. As your multimeter is set to measure voltage, you check the reading.
- The multimeter must show a reading of zero or close to zero. You must change the battery cables if it shows a reading like 0.3.
- Ask the person to turn off the engine, remove the red cable and test the negative cable similarly by connecting one terminal to a multimeter and the other to the battery’s negative terminal. If you again notice a voltage of 0.3 or more, you must replace the cables.
A measurement of 0.3 or higher is set for a 4-cylinder engine vehicle. If the vehicle has six cylinders or more, the voltage reading differs, and it is around 0.5 or higher to indicate bad battery cables.
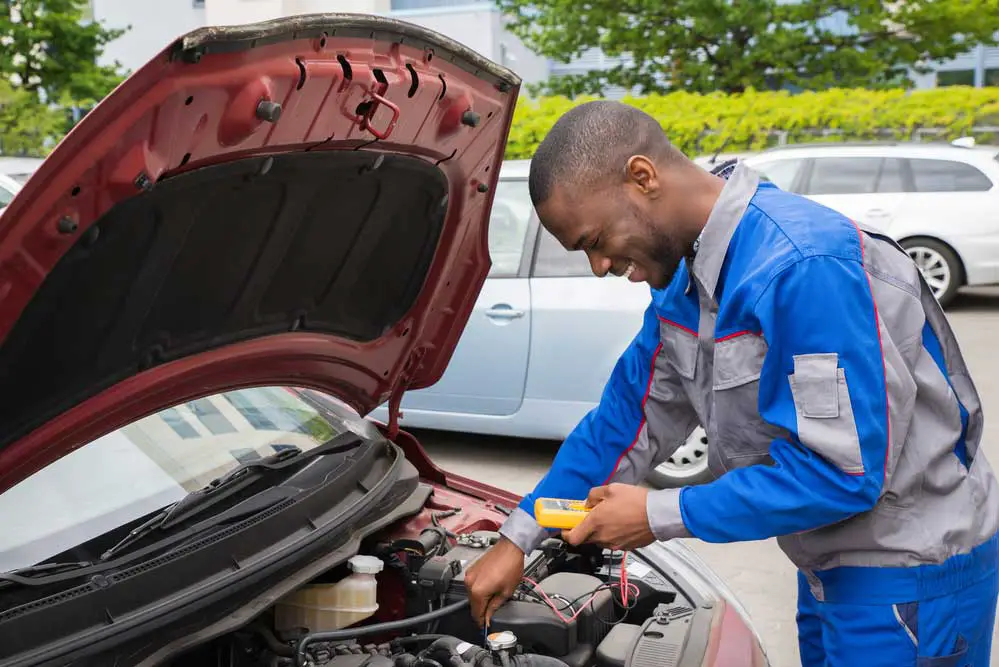
Test your battery with a multimeter.
How do you change battery cables?
Let’s read the step-by-step process of changing cables in a vehicle’s battery:
Precautions and safety measures
- The first step will be to wear proper personal protective gear. Batteries contain corrosive sulfuric acid, which can harm your eyes seriously if it comes in contact. Protective eyeglasses and latex gloves are necessary while working on a battery.
- Ensure your car is in parking mode and switched off before you change the battery cables. If the vehicle is in “on” condition, it may cause electrical shock and damage. To make it doubly sure, you should remove the keys from the ignition so that no one can accidentally switch on the car.
Removing the battery
- You may already know where the battery is located in your car’s model, or you may take help from the owner’s manual. In some models, the battery is in the front engine bay, whereas in some cars, the battery is housed in the rear trunk. You will generally find it a rectangular box with two terminals sticking out and cables attached.
- Once you have found the battery, look for positive and negative terminals. Generally, the terminal to which the red cable is connected is positive, whereas the one with the attached black cable is negative. In some cases, you will find both cables of the same color, but the positive terminal has a red marking or some red accent, and the negative one with black. The battery will invariably have + (positive terminal) and – (negative terminal) marking on respective terminals. You can discern one from another by looking at these markings as well.
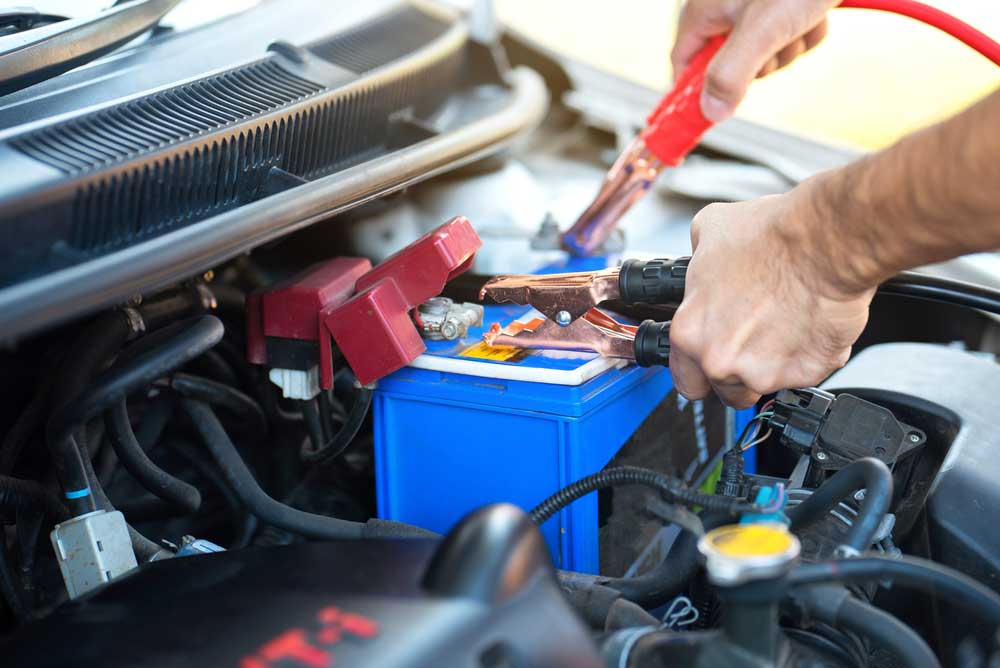
- First, Disconnect the cable attached to the negative terminal. Disconnecting it breaks the battery circuit, and the battery cannot supply power to the car. While disconnecting the negative cable from the negative terminal, you may have to loosen the bolt. If there is rust, you can use an anti-rust spray to loosen it. Remember not to allow the negative terminal cable to touch the positive terminal accidentally while opening the negative bolt.
Once the negative cable is off, remove the positive cable from the positive terminal. Similarly, once you disconnect both cables, the battery is free of any cables; remove it to get some free space to work with them.
Changing the battery cable
- First, you have to remove the negative cable from the other end where it is bolted to the car body or engine body. Keep track of cable routing so that you may put the new cable on the same path. Similarly, remove the positive cable from the other end where it connects to the starter. Once you remove the cables, compare their lengths and end connector sizes with the newly purchased ones. They must be the same or similar so that installation may be easy.
- The connectors at the end of the cables must be free from dust, oil smear, or paint. You can use a steel wire brush to clean the connectors before installing them.
- Attach the new positive cable to the starter using the same bolt and route the cable in the engine bay similarly. Similarly, attach the new negative cable to the car or engine body. Double-check that cables are not in contact with belts, which can damage the cables. Once cables are in place, it’s time to put the battery in its place. Remember not to let the cable end contact the wrong terminals while returning the battery.
Reinstalling the battery
- Put the positive cable connector at the positive terminal and fasten it with a bolt. You can use corrosion inhibitors while securing so the connection may not weaken due to rust development. Make sure to tighten the bolt firmly. Similarly, fasten the negative cable connector to the battery’s negative terminal. Since this connection will complete the circuit, you may experience small sparks while connecting the negative connector with the corresponding terminal. Remember to tighten the connection.
- Once you install new cables and connect them to the battery, start the car. If the vehicle starts, the cables work fine, and the connections are good. Some contacts may be loose if the vehicle turns over and does not start. You may need to switch off the ignition and check for loose connections. Tighten them and try again.
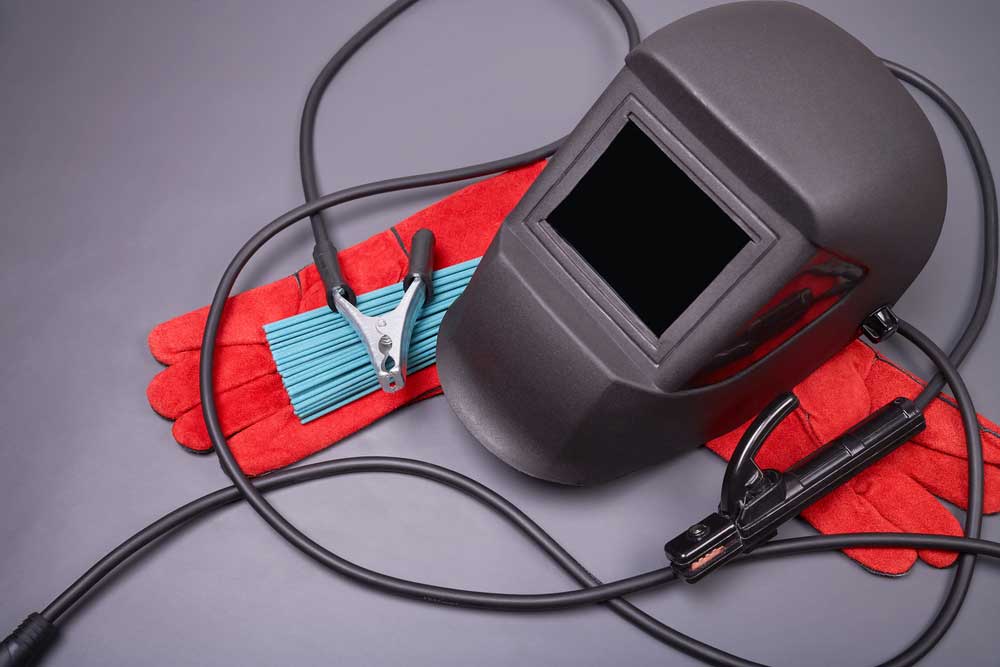
Welding cables
Conclusion
Battery cables are essential in setting a functional connection between a vehicle’s battery and its starter.
A faulty connection results in performance issues and poses a risk to several safety hazards.
So always get high-quality battery cables for your vehicles. If you cannot figure out where to get them, contact Cloom.